Low and High Key Flowers: Lighting Tutorial
This idea is based off the first project from the 52 Weekend Digital Photo Projects book.


So the first project in the book is how to capture low and high key blooms.
It's a few days after Valentine's, but I had some flowers left over, so I used them for this project. First, I attempted the low key bloom, the process of which I shall explain below.
First off, I set up the black studio background. Next, I placed a diffused light to the side, about at a 45 degree angle to where my flower would be placed. Then I set up my camera on a tripod so that I could rely on lower shutter speed without having to worry about camera shake or upping the ISO. Then I placed my flower below the camera. I've no idea where my studio clips are so I made do with clothespins to hold the single flowers. See the image below for an idea of the layout, equipment setup, and specs.


Set your camera at two-stops below center on your in-camera meter. The original bouquet image came out like this:

After touching it up in Lightroom, the image turned out as below, cropped to square to share in Instagram.

Finally, I sent the touched-up version into Photoshop to personalize it, as shown below: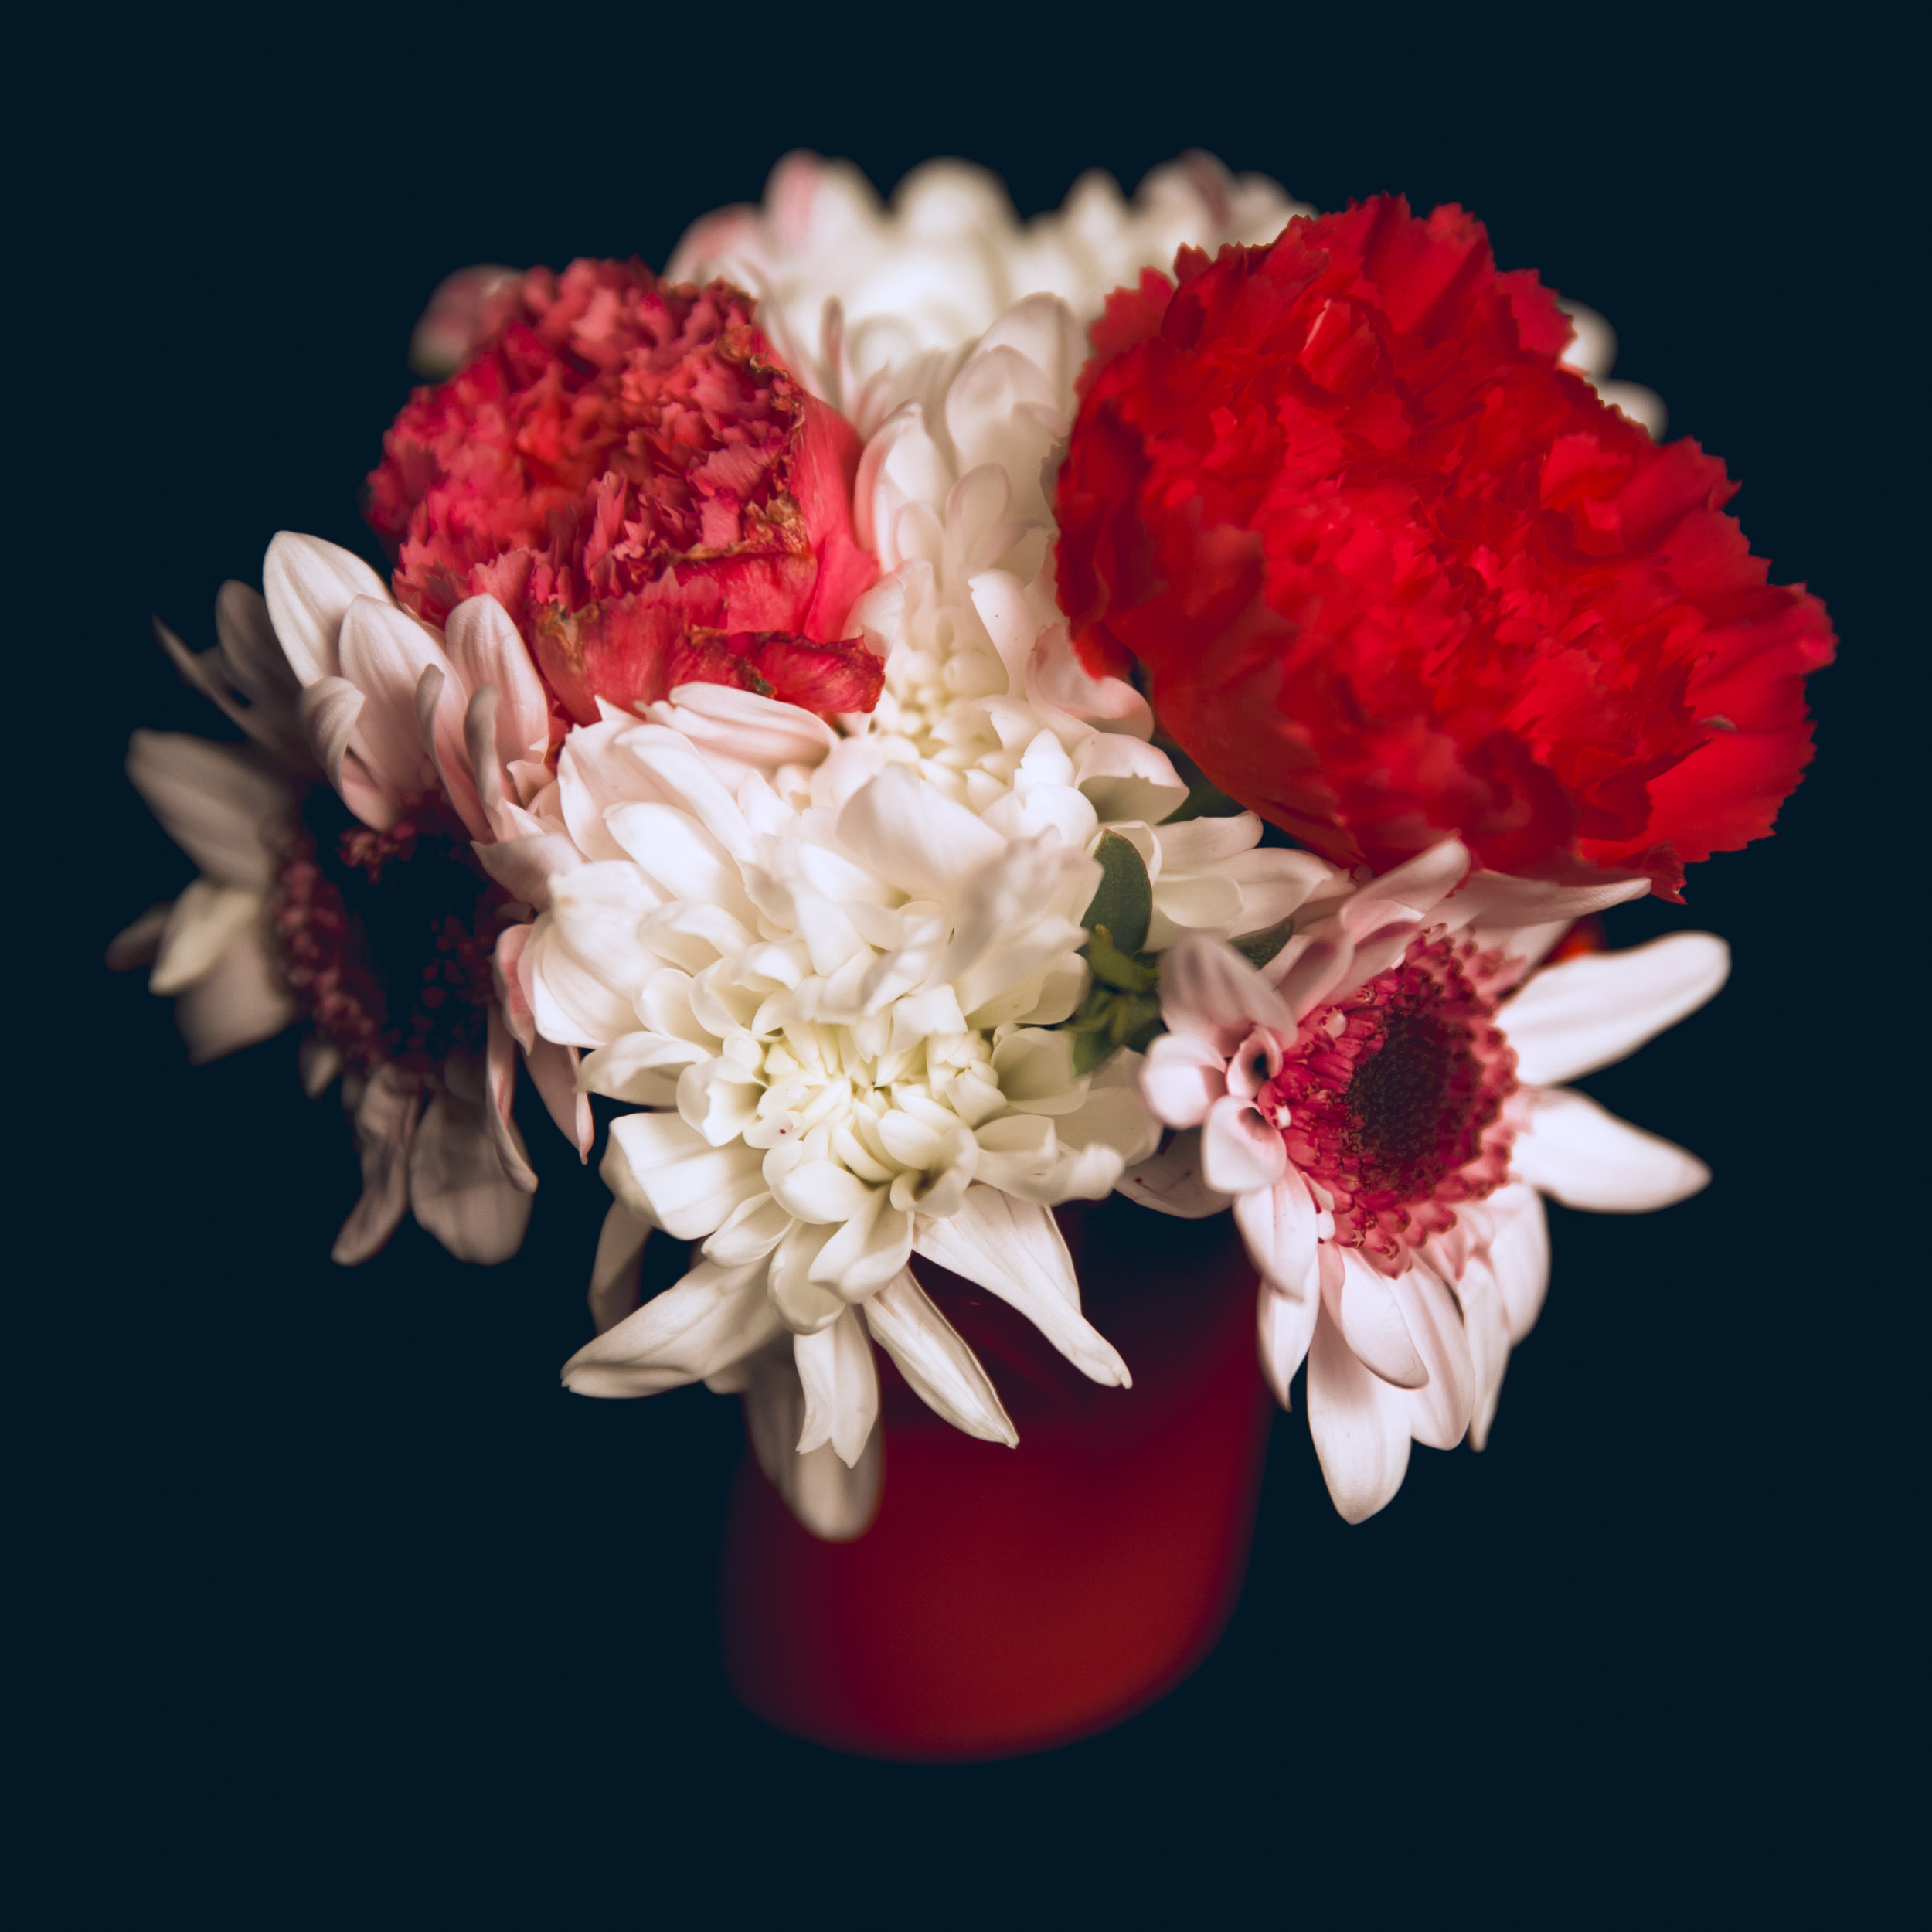
So now the same process applies to the flowers below:


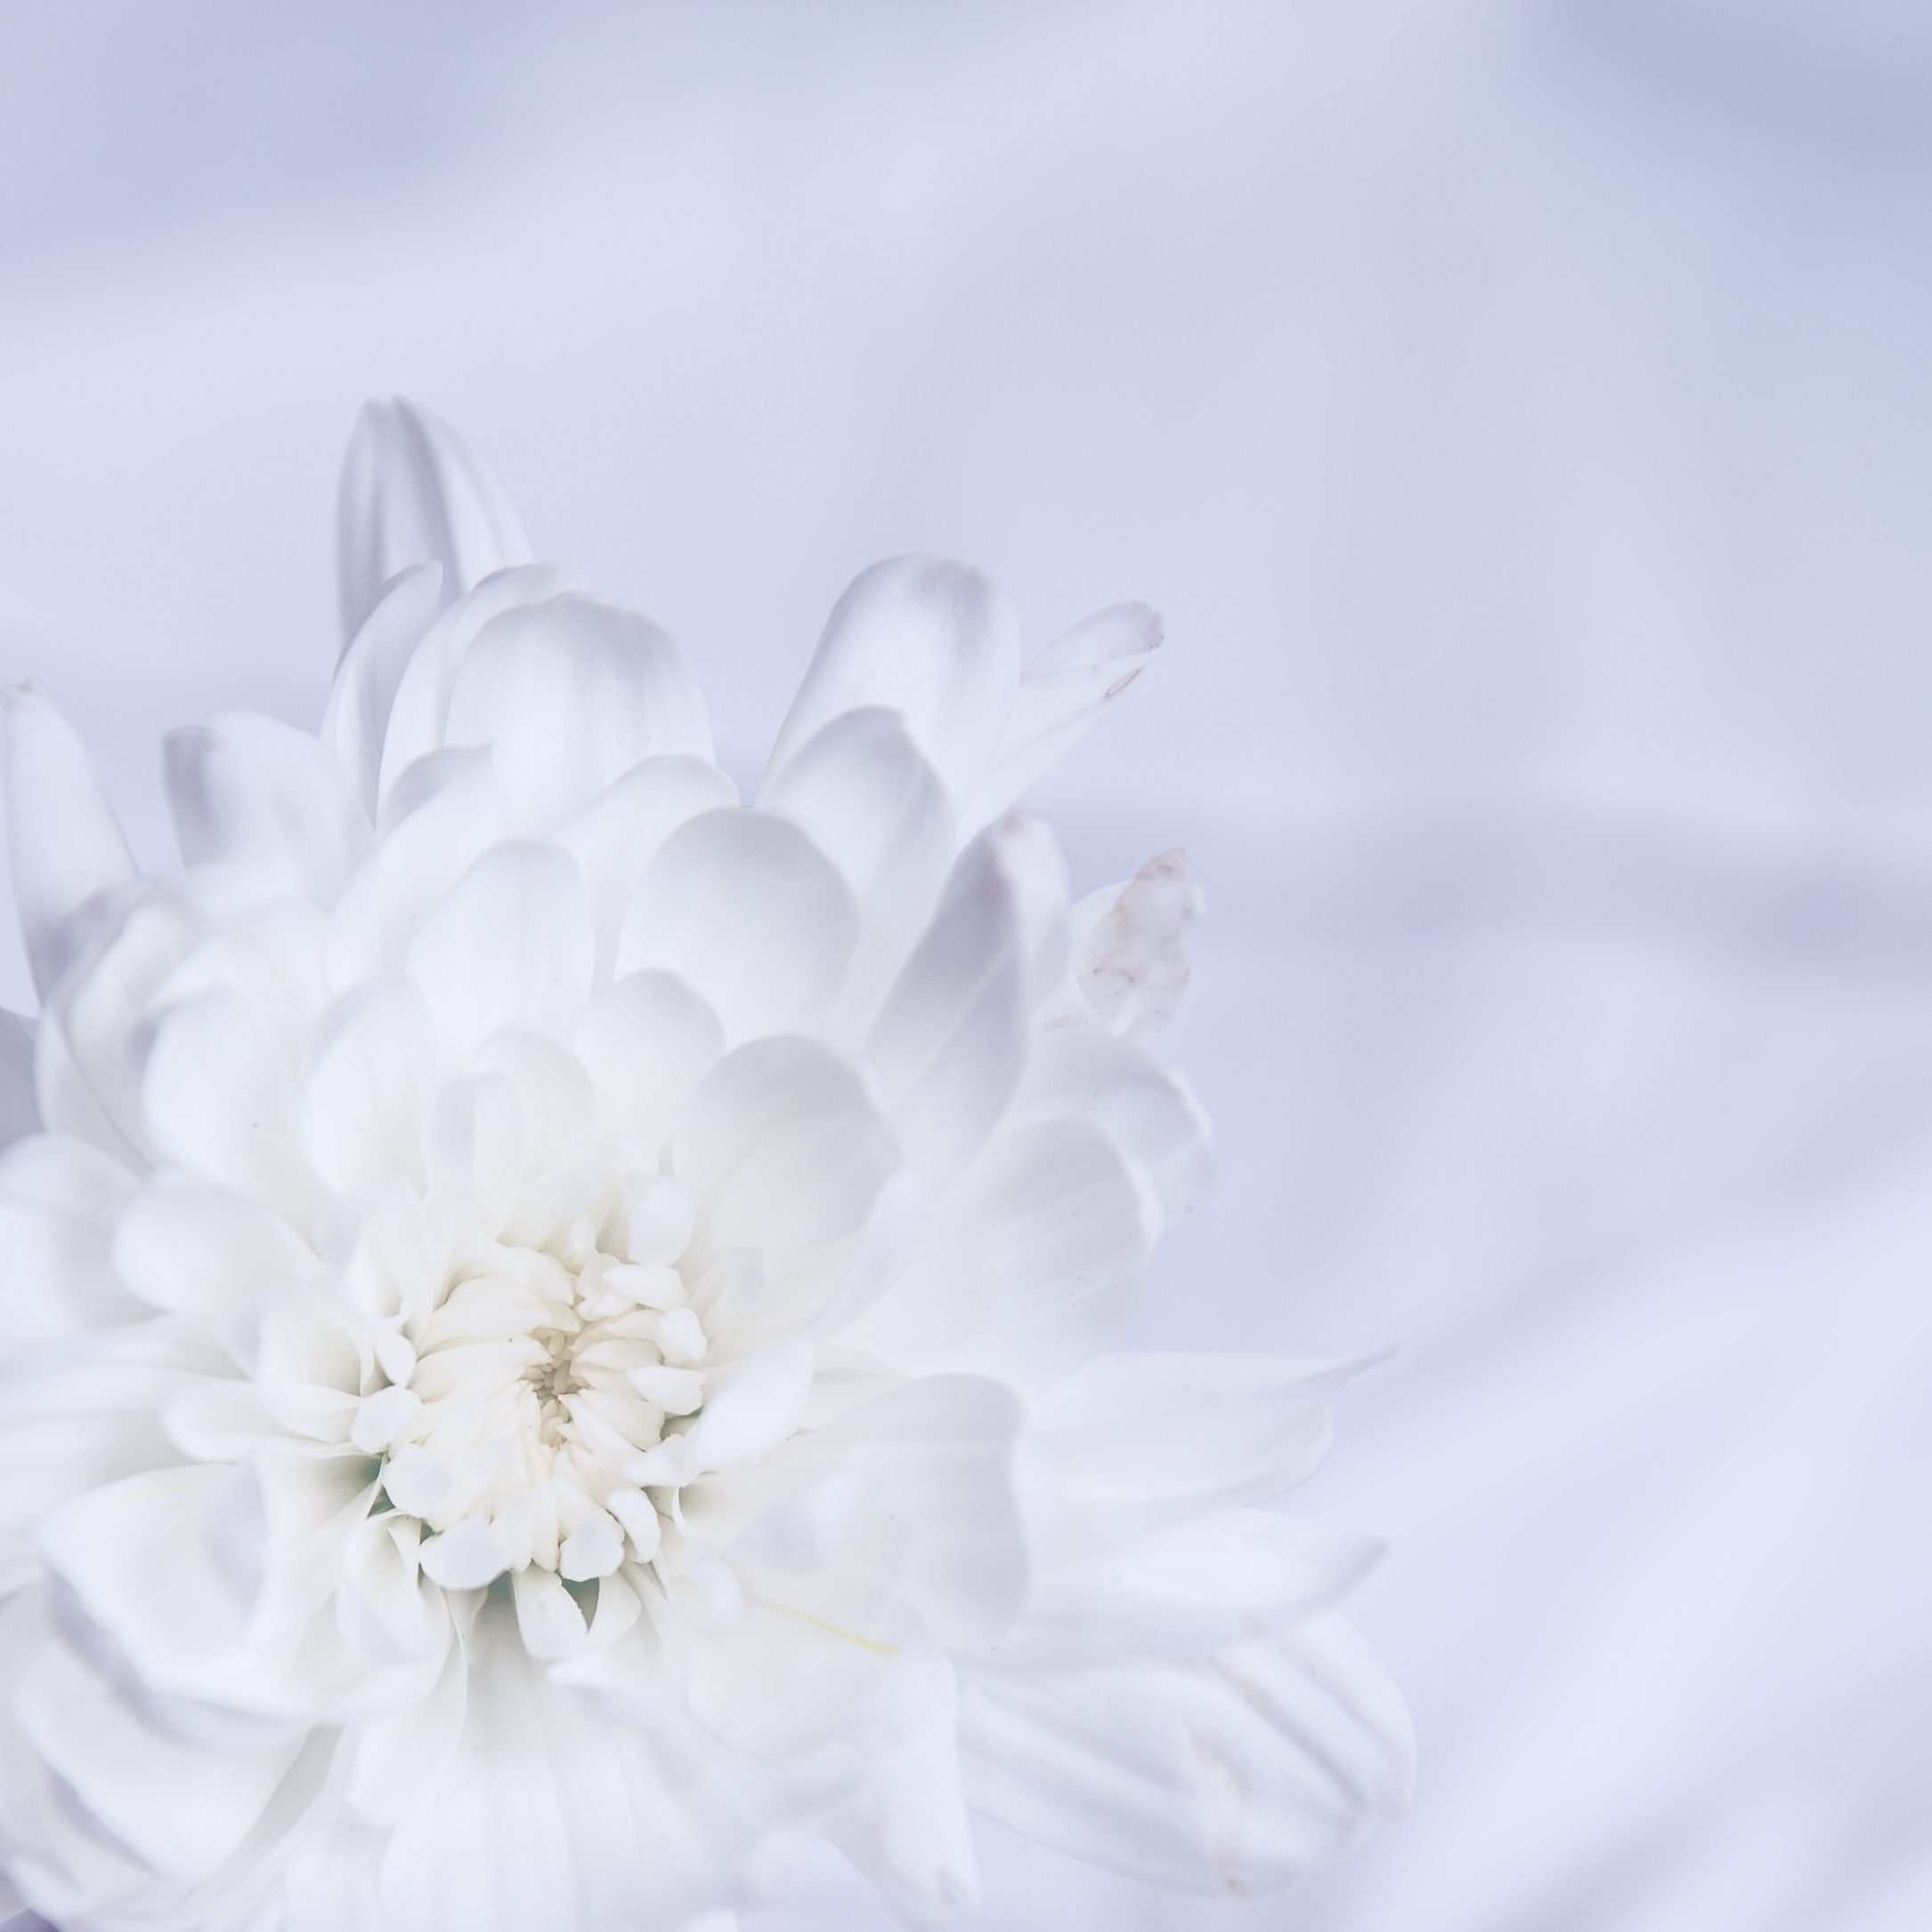
Now let's move on to the high key photograph.
For the high key process, I switched the black background with a white one. Instead of using the continuous light, I used a flash and a couple of white cards around the subject. See the image below for a set-up idea. 
I used both a white flower and a white/pink flower for this part of the project. Remember to expose these two-stops higher for high key images. Now below the same process applies to these images as above: